Saturday, August 6, 2016

The Loom: An Epic Adventure

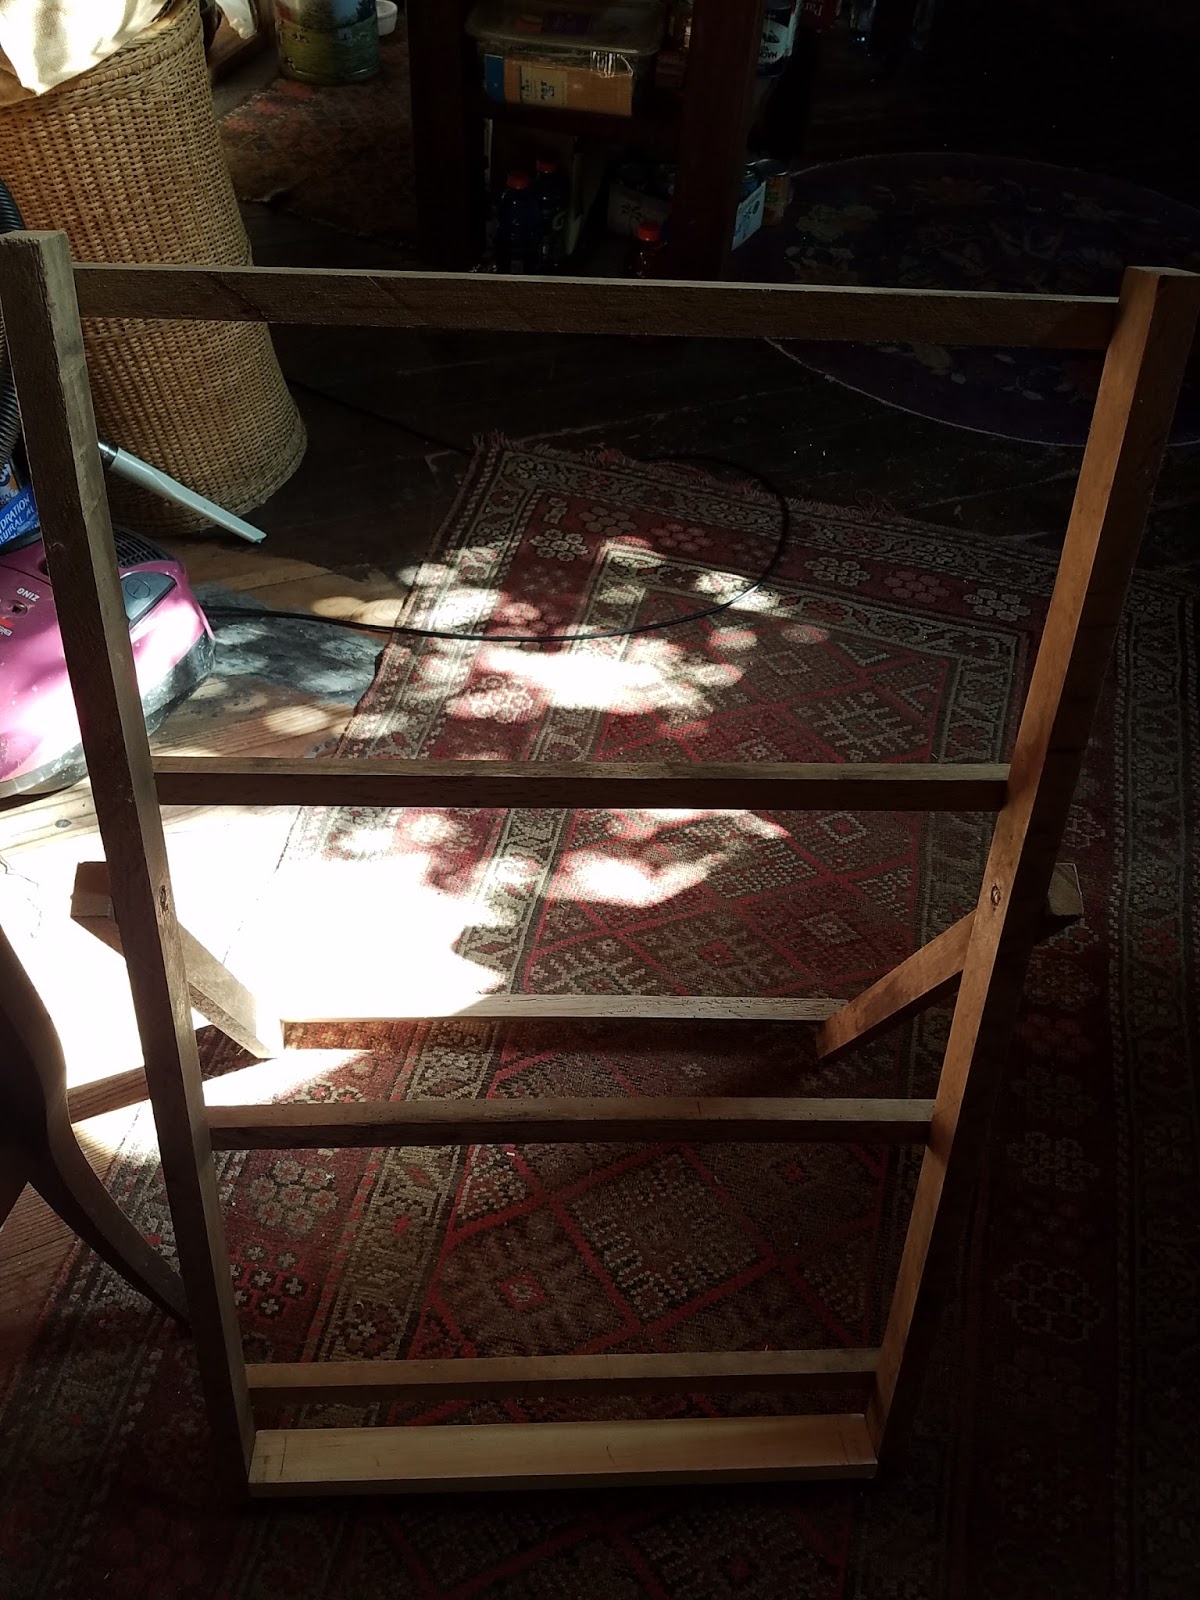
I have been given a Vintage '70's Brittany Tapestry Loom.  It is in itself a thing of beauty and artistry...of walnut hardwood and skilled crafting.  I took it apart, and I am now trying to warp it.  There is not much information available on the web for this particular loom.  I found instructions for a slightly different Brittany loom (it has side pegs, mine does not) at http://www.herran.com/textile/discuss/messages/6762.html

I have also added a copy to my blog for preservation purposes http://maggiecam.blogspot.com/2016/08/instructions-for-setting-up-brittany.html

Brittany Looms were made in Placerville, CA in the '70's by the parents of the people who now make Brittany Knitting Needles and Crochet hooks in Elk, CA.  I emailed, but have so far gotten no response.  It's a long shot.  I am writing this blog in case someone else needs help with this loom.


The loom has a rolling heddle...the warp threads go in opposite slots and when you roll the heddle it opens a new shed.  Some information comes from Rebecca Mezoff blog  http://www.rebeccamezoff.blogspot.com/2015/02/which-tapestry-loom-is-right-for-me_13.html

The loom seems to have been missing a few pieces, mostly dowels, which I am trying to replace.  A very skinny one is inserted in the rolling heddle while threading and then removed as the warp is placed in the slats, then reinserted to hold the warp in place.  Ingenious.


The parts list also includes a sword, which I think I have and a tension bar which I don't think I have.  I am subbing a dowel for the tension bar until I learn better.  I have seen dowels used in many ways on tapestry looms.  I also have what I think is an hardwood shuttle.


My puzzle this week has been to reinterpret the 3rd sentence of the instructions  "Wrap the warp thread figure 8 fashion around left hand pegs 5 times, then bring warp behind top beam and place in first groove of top beam. "  Since I do not have the side pegs, I am visualizing what else I can use for this purpose...perhaps the corners where the top beam meets the vertical struts. I have the top notched bar and the heddle marked at the middle so I can center my piece.  The first one won't be the whole width.

 Another blog with Brittany resource info and pictures is Resourceful Nomad: A Vintage Tapestry Loom


and one from Sarah Frost  And the Pilcrow A Machine of wood and string, good warping pictures  http://sffiction.blogspot.com/2014/08/a-machine-of-wood-and-string.html


I am all set to warp....cotton yarn, The notches at the top beam only allow for 6 epi.

In my research, I read that it is helpful to stand a loom w/o supports on an easel...either a table easel or a table one.  

WARPED!

I had the most difficulty because I was complicating things.  I didn't need the side pegs that were described in the instructions...probably for a fancier loom.  I just tied on to the bottom like the frame looms...I probably need to refine that, but it will work for now.


Threaded through the rolling heddle...that part wasn't as hard as it looked....put threads in alternating slots and reinsert thin dowel to hold in place.
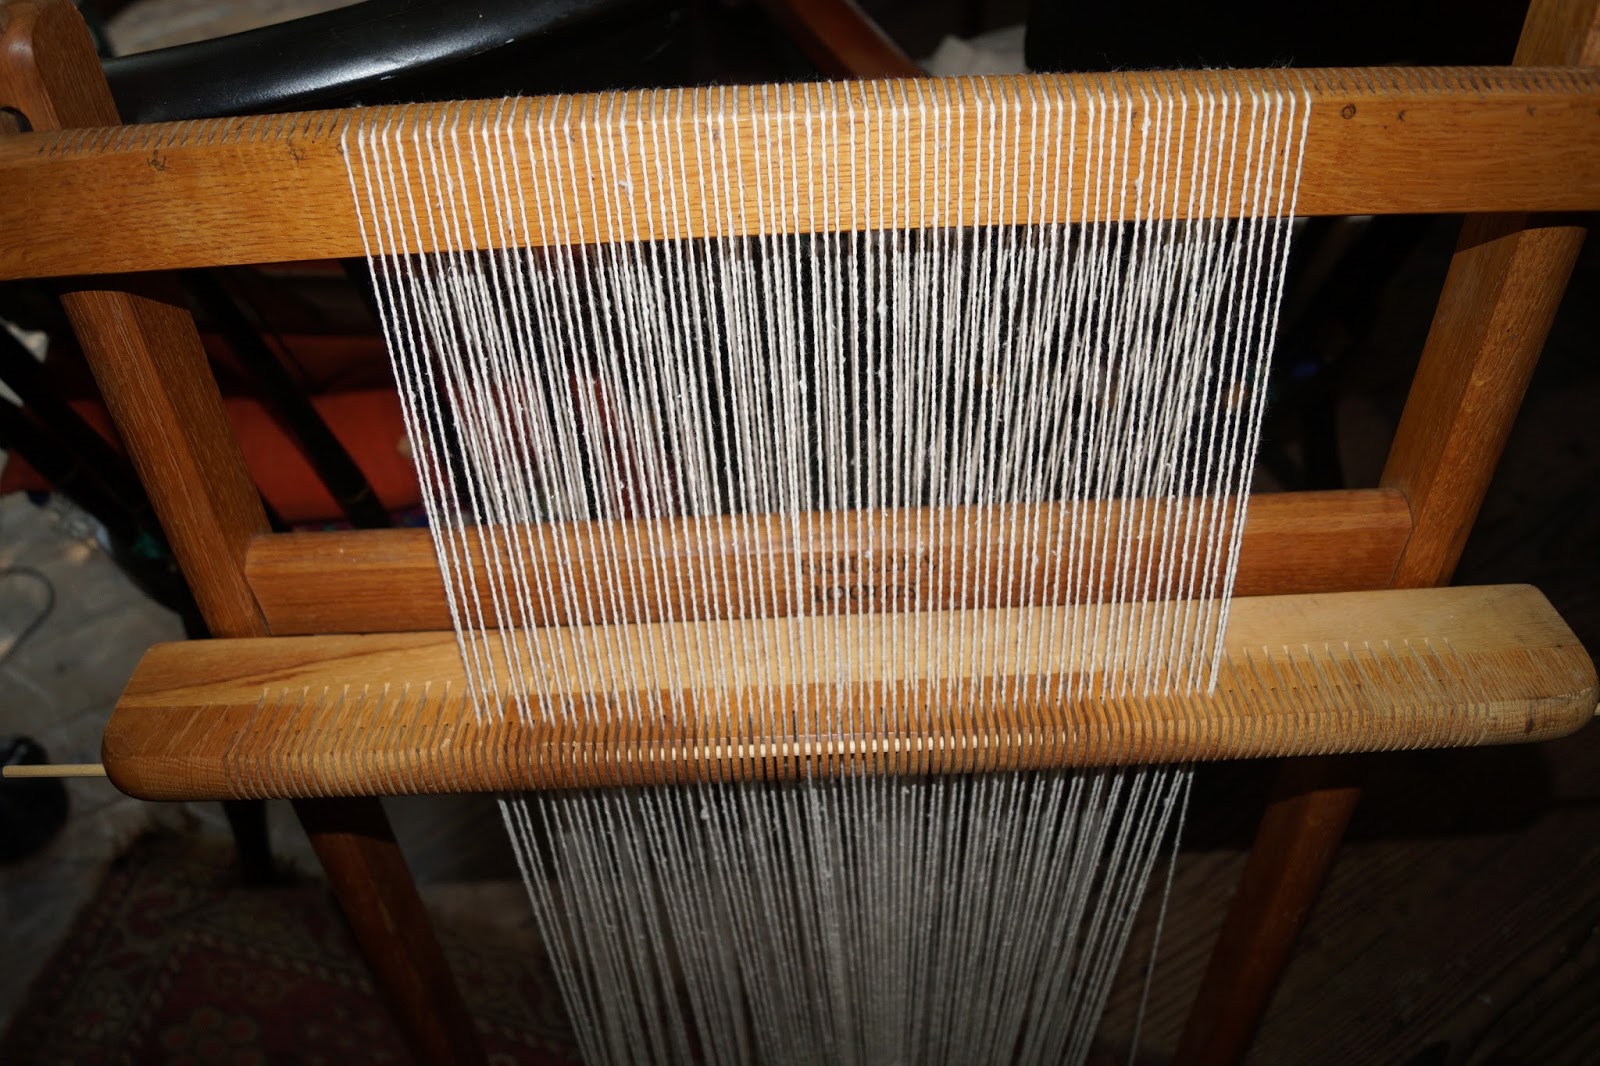
 

Now on to tension adjusting...for another day.

I am going to try some heading sticks for stability at the bottom of the warp.  I went to the hardware store, and they had some nice hardwood ones for approx. $8 each...a lightbulb went off, and I wondered if wooden yardsticks would do the trick...bought 2x at  $.89 each.  It will be a coup if they work.

Working on the pattern, trying to use a Fibonacci series of 3 color stripes.  I may have to tone the white yarn down with a tea bath...no ivory at the yarn shop.


A few rows woven, a few rows taken out....I found out after-the-fact that I should have started the rows with a row of half-hitches on every two warp threads to establish the spacing....things that are required for this...a length of weft yarn 3x the width of the piece, Patience, and Dexterity...the last two are not my strong suits, but it's never to late to learn....Practice is Learning.  

Finally warped with stronger blue cotton thread...the white yarn must have been old; it kept breaking.  Not a winning solution.

Using silk sari yarn and some hand dyes...small treasure purse project


Lots to learn 💓💓💓💓💓💓


Saturday, December 19, 2015

Peacock overshot pattern weaving


Monday, March 16, 2015

Rust Dyeing on the Coast

Sept 9….Rust Dyeing Workshop with Lisa Grey cotton, silk, polyester, paper---spray surface with vinegar, press, press press rusted objects onto surface, cover with plastic, lay in sun, paint with tea solution (guar gum tea solution after, or lemon juice guar gum)
Water + time straight vinegar faster rusting


Gardens and Weddings a colorful Yarn

Leftover plants from Wedding bouques yield some lovely color

 Black-Eyed Susan and Coreopsis flowers....Alum mordant

Grevillea robusta leaves...alum mordant

Canned Spring Dyebaths

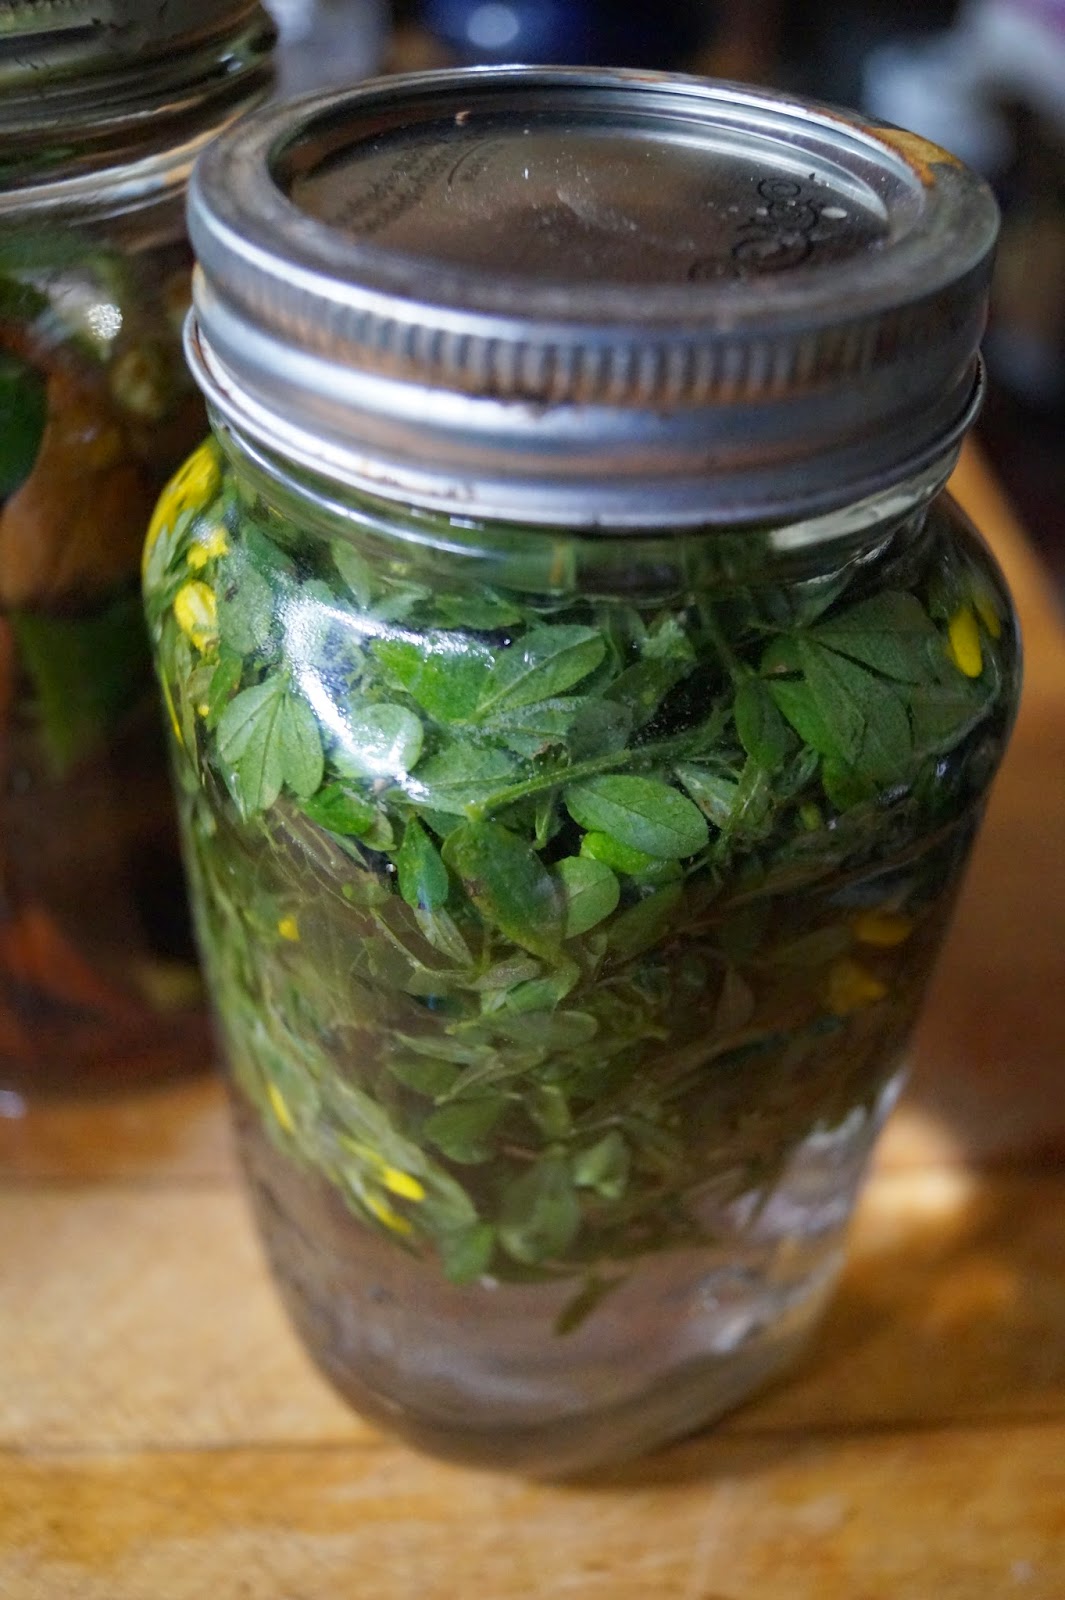
Many times I find great botanical materials, but I am  not set up to use them right away.  I had this idea today that maybe canning them would preserve the dye color for future use.  I put the plant material and a Tbsp. of vinegar in a jar and filled it with water.  They are now boiling for 10 minutes in a canner.  I am hoping that this will preserve them, render the color, and keep them from fermenting until I am ready to use them.  I put a skein of alum mordanted wool in the one with the Scotch Broom flowers.

India Flint has used the canning method for dyeing material..I have tried that, but sometimes the plants come before the material is ready to be dyed.

4 jars ready to go in the canner


Skein of wool with Scotch Broom flowers


Scotch Broom Leaves


 Loquat Leaves....Green, Brown, Yellow


Bronze Fennel Leaves


After the 10 minute boiling...left to right, Scotch Broom Leaves, Loquat, Wool and Scotch Broom flowers, Bronze Fennel


I hope the colors will deepen as the jars sit, and that the plant material will not start to compost.  We'll see.  The bronze fennel seems to be a beautiful copper bronze, but it will probably change.  I see already that I need to put more material in...really stuff the jars i.e. the jar with Scotch Broom Leaves.

I am hoping this will be not only a good way to preserve dye plants for awhile, but also an easy low-key method to experiment with various potential dye plants.


Friday, December 19, 2014

Eco Printing Mystery Fabric with leaves and logwood

Trying to master the technique of ecoprinting on these cheap "Pashmina" scarves I bought on ebay....labeled 70% wool/30%, but I don't think so.  First one I did, I treated like protein, mordanting it in alum.  It took dye very weakly, so I redyed it using a soy mordant followed by and iron dip, pre-bundling.
That worked well, so I tried it again, eliminating the first alum mordant, and just going with the soy, followed by the iron.
I am happy with the results...this is a present for a friend who has been admiring the first "mistake".
I got fairly good definition, and I like the subtlety of shades.  It feels like wool, and is easy to wear.


Thursday, August 29, 2013

Sticky Lavender Geranium a fine plant for natural prints

As I get further into this adventure of searching out plants that will make a lovely natural dye or print, I find that sometimes the best and most interesting are just under my feet.  I have had this plant in my garden for many years, enjoying it sometimes and, at times, disparing of it's rather messy look after blooming. I am looking now for my nature print project for interesting leaves, and after a search on the internet and in a wildflower book, I found the identity of the mystery plant, commonly called Sticky Lavender Geranium. This self-sowing geranium has large palmate leaves, very different from other geraniums.  I was so surprised and pleased from my first prints, which are on cotton tee shirts...big, bold leafy prints. I have some bundled on a silk chiffon scarf.  I will post the results when it has cured for a bit.

Geranium viscosissimum


Onto cotton tee shirts with Cotinus, Eucalyptus, and Cochineal


Wednesday, July 24, 2013

Summer Black Bean dyeing, briefly

Early July.. 

Black bean dyeing: soaked 2 lbs. black beans for 36 hours. Drained the beans and added mordanted wool and mordanted silk scarf (alum) to soaking water (no heat added)..let sit for days until color deepened, rinsed, hung to dry

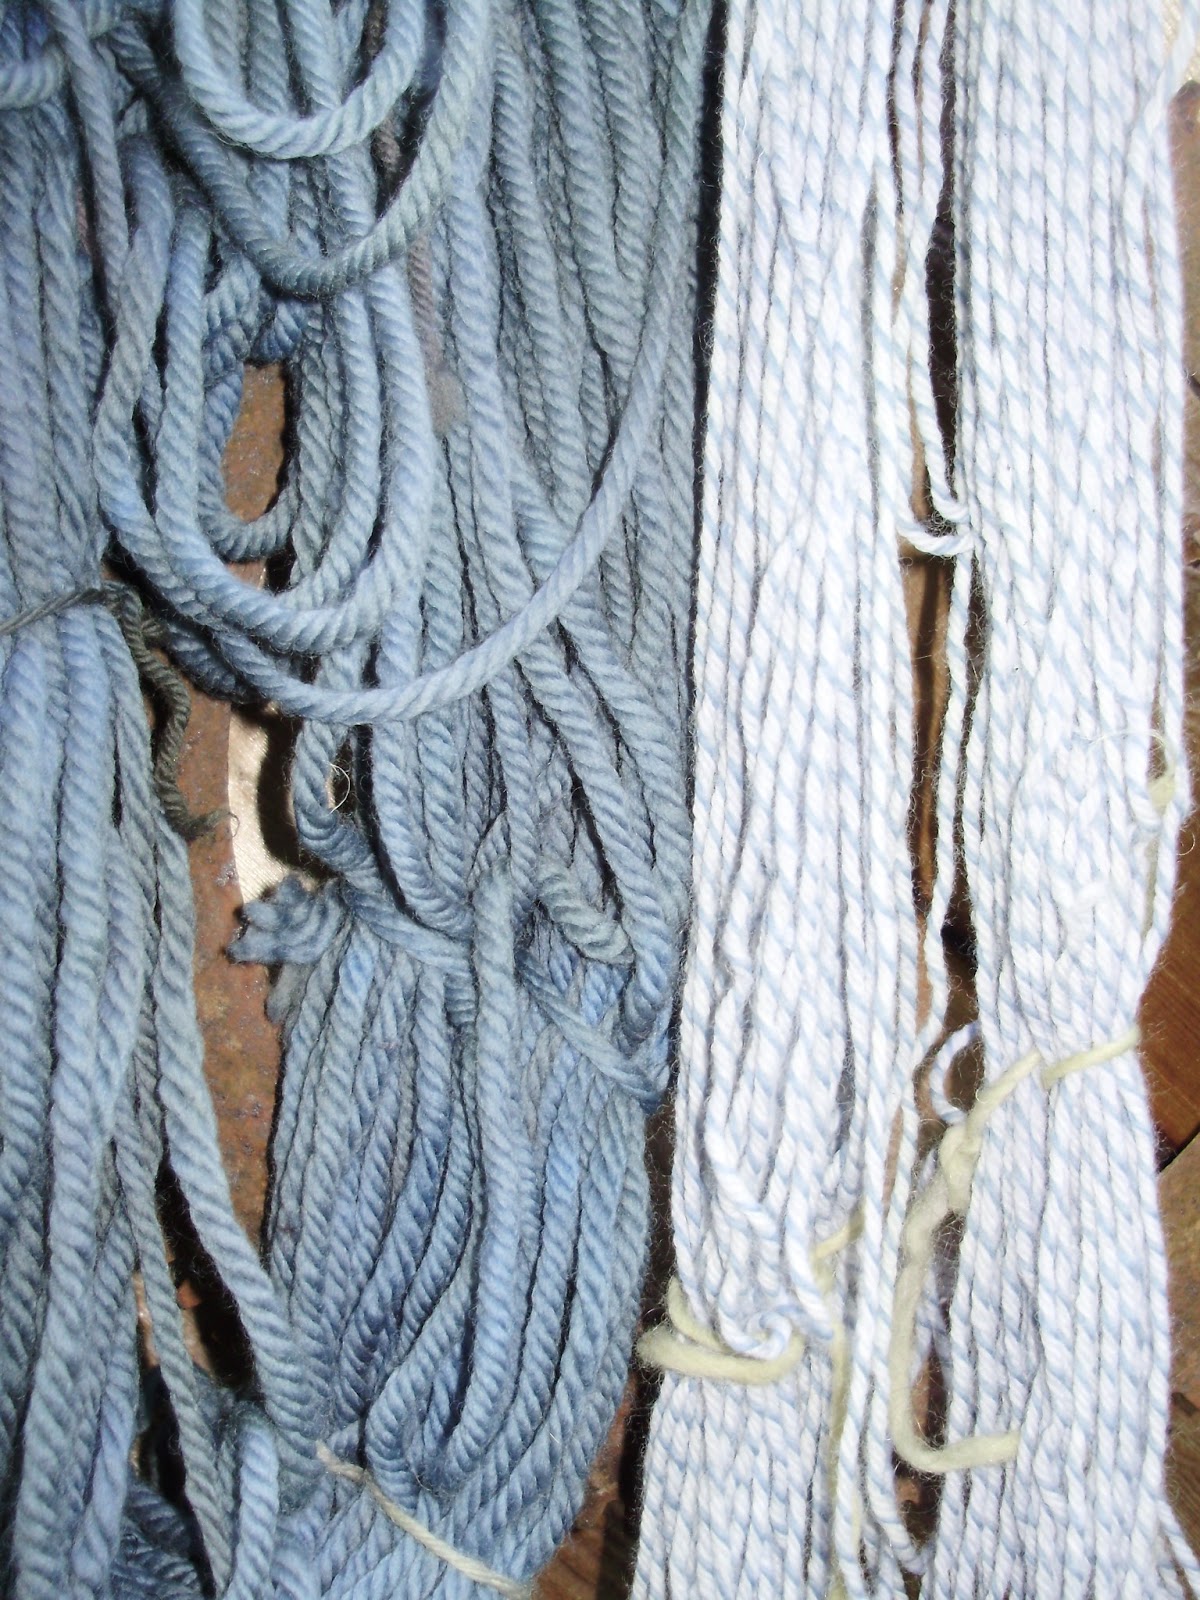
Noticed there was still plenty of color in dye bath, so I added a skein of pre-mordanted Licorice Twist wool yarn, color still good, and I love the variation on the Licorice twist

In our cool climate, the beans did not show signs of fermentation after 48 hours, so I slow cooked them with the usual suspects...onions, garlic, peppers and spices

I added a Tbsp. of vinegar to the dye bath, but you can play around with the Ph and get different shades which I intend to do on my next try.

This dye bath is also very sensitive to heat, so I didn’t heat the fabrics at all, just let the ambient air temperature do its thing.


The BB dye is supposed to be fugitive, but these have been “hanging out” for a few weeks and show no signs of fading…still waiting with fingers crossed

Silk Satin scarf with Black Bean soaking H2O dye

 2 wool skeins from Black Bean dye bath...Bulky and Dharma Licorice Twist

Close up, note the different tones on the Licorice Twist (pic is showing a little lighter than actual color)

Sunday, June 2, 2013

Early Dye and Fiber Articles

On the History Channel's series for TV, "The Vikings" the characters are dressed mostly in drab and grey colors.  There were other colors available, and I don't know why they chose to portray the costumes so dark.  Here are some sources from the WWW illuminating the bright colors obtainable from the native plants.

Fibers Help Update the Rise of Culture, By Henry A. Shull   Harvard Crimson  September 25, 2009

http://www.thecrimson.com/article/2009/9/25/fibers-help-date-rise-of-culture/

Viking Age Dyestuffs

http://www.cs.vassar.edu/~capriest/vikdyes.html

http://www.hurstwic.org/history/articles/daily_living/text/clothing.htm

http://www.42nd-dimension.com/NFPS/nfps_colours.html

Interesting Q & A on Viking Textiles with nice Color Wheels of wool and information on plants and methods

http://www.bushcraftuk.com/forum/showthread.php?t=54737

Thursday, January 10, 2013

Obsessed with Lichens

When I first started my natural dye project it was spring, and I looked at the flowers as sources for natural dyes.  Then as spring turned to summer, I constantly accessed and identified the roadside shrubs for dye sources.  In the fall, I scanned the woods and roadside shoulders for mushrooms (bad mushroom year), and now, as winter weather is here, I am amazed at the large quantity and variety of lichens that are brought down by the storms.

The symbiotic realtionship in lichens is that of a fungus and an algae or a fungus and a cyanobacteria. 

A lichen is a symbiosis. That means that it is two or more organisms living together such that both are more successful within the partnership than they would have been if they were living on their own. With lichens the basic components of this partnership are 1) a fungus called the 'mycobiont' and 2) one or more algae and/or a cyanobacteria called the 'photobiont'. 

There are about 13,500 species of lichen on the planet.  Lichens are basically of 3 types:

Foliose - which means that they are leaf like in their structure.

Crustose - those are like a crust stuck to a surface and are usually very thin and tightly attached. These are about 75% of all lichens.

Fruticose - these are branched structures.

One of the problems with lichens is that they can be very hard to identify, but at least it's fairly easy to classify them by the above and work from there.

Found today in the Pygmy Forest, Lobaria pulmonaria, Lungwort Lichen. 

http://www.fs.fed.us/wildflowers/plant-of-the-week/lobaria_pulmonaria.shtml  It can be used as a dye.  I gathered what had been blown from a bull pine and scattered on the forest floor.


I learned today that Cladonia crispata  is the most common mat in pygmy forest.


A couple of good sources for Linchen info and pictures:

http://macrolichen.com/PygmyForest/ 

http://www.waysofenlichenment.net/lichens/alphabetic_index.html

The Sharnoff pictures, authors of Lichens of North America, are very professional.


From a recent walk through our woods


Like shapes: Lichen Lobaria pulmonaria (Lungwort lichen) from Bull Pine in Pygmy forest and Oak Leaves from Cloverdale, CA bundled in silk, awaiting the unwrapping


Usnea rubiginea, Old man's beard, red, from the Pygmy forest, downed tree.  I am going to do my first Ammonia extraction dye with this as soon as I get a little more.  It's ok if it dries first.


Usnea sp.? on branch


Lungwort lichen (Lobaria pulmonaria) and unmordanted wool in water extract dye bath.  Lichen was soaked overnight and then simmered for 2 hours, cooled, and then the wetted yarn was immersed.  It's out on the porch to solar dye (except not much sun right now), so this may take a while.  Water color is golden, rusty orange, yarn is tannish.


Lichen dyed yarns...Lobaria pulmonaria and Usnea sp. BWM (Boiling water method..soak, simmer, leave overnight, add soaked yarn and simmer again)  Leave to cool and until color desired is obtained.


 Usnea sp. mass gathered from fallen pine tree.

 Usnea BWM dye bath with yarn being removed in net bag.  The dye bath appeared colorless, but when the yarn was left to simmer for an hour and a half and sat overnight, it turned a lively golden color.


Usnea rubiginea in AFM (Ammonia fermentation Method) being left to sit for weeks and weeks.  I shake the jar a few times each day to aerate.  The dye bath will have to be neutralized with water and acid (vinegar) before fibers are added.

Sunday, November 11, 2012

Cotton Tales


Bundled cotton culottes with red and yellow onions skins, E. cinerea, and hibiscus; boiled in iron pot; don’t know how long to leave it..it’s very dark blue right now, as it dried, it lost much of it's color; I think subtle and earthy are the words for the tones now.


Cotton t-shirts and culottes, after dyeing


Cotton culottes...soaked in alum, tannin, alum and then soy.  I guess I wanted to take no chances, although it's all experiment and chance.
Bundled with eucalyptus and boiled in iron pot


T-shirt soaked in soy, bundled with eucalyptus and steamed


T-Shirt, soy mordanted and cured, bundled with eucalyptus, steamed and then lower half boiled in iron pot


This weeks cotton t-shirts, bundled, steamed, boiled half-way in iron pot, waiting to see when they dry out.  Some of the eucalyptus leaves are fresh and some dry.  Also some hibsicus and onion skins.  
Many of the euca leaves were painted with egg yolk and left to dry before bundling, painted with fresh egg yolk just before bundling.  So many options to experiment with

'
Long maxi dress...eucalyptus on cotton with some iron mordant


2 soy mordanted, iron dipped, cotton tee shirts with eucalyptus, simmered in cochineal dye bat


 Upcycled girls camisole